MAXUS Bumper Replacement: A Complete Workshop Guide
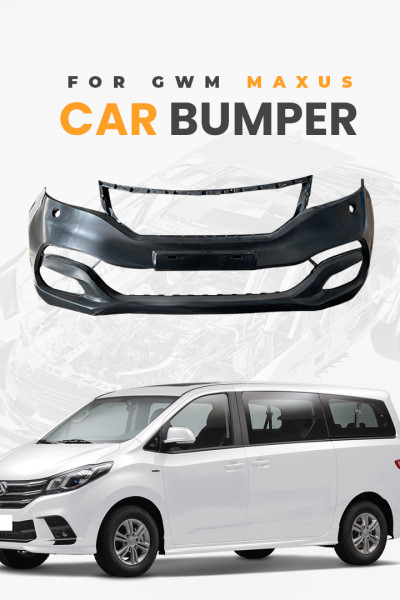
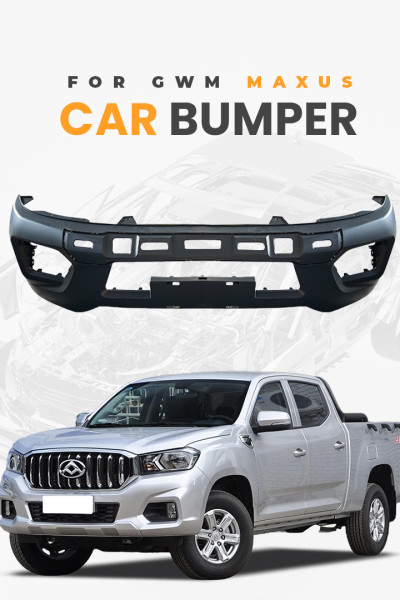
The MAXUS bumper is one of the most commonly replaced body parts in the MAXUS commercial and passenger vehicle range. Whether it is a delivery van that has collected parking damage, a passenger vehicle involved in a low-speed urban collision, or a fleet unit that has accumulated road debris wear over high-mileage service, the car bumper on any MAXUS model is designed to absorb impact energy and protect expensive structural components — and that design intent makes it a high-frequency replacement part in the independent workshop channel. This guide is written for workshops, fleet maintenance managers, and parts distributors who want to understand the full scope of the MAXUS bumper replacement opportunity.
Why MAXUS Bumpers Are High-Volume Replacement Parts
MAXUS vehicles are workhorses. The V80, V90, G10, and more recent EV models like the EV80 and EV90 are deployed across logistics fleets, municipal services, tourism operators, and private ownership in markets across Europe, Latin America, the Middle East, and Southeast Asia. The nature of that duty — urban delivery cycles, frequent tight parking, high-mileage highway driving — means car bumper damage is routine rather than exceptional. The independent workshop that can supply and fit MAXUS replacement bumpers quickly and professionally has a reliable revenue line that scales with the growing parc of these vehicles in every region.
Understanding MAXUS Bumper Design and Material Composition
Modern MAXUS bumper covers are manufactured from impact-modified polypropylene or ABS composites, selected for their combination of energy absorption, surface finish durability, and weight efficiency. The OEM-specification car bumper cover is designed to deform and absorb low-speed impact energy while protecting the structural bumper beam behind it. In many markets, the bumper cover also integrates parking sensor housings, fog lamp positions, and adaptive cruise control mounting points, making correct part identification critical for a correct first-time fit.
Front Bumper vs Rear Bumper: Key Differences for Workshops
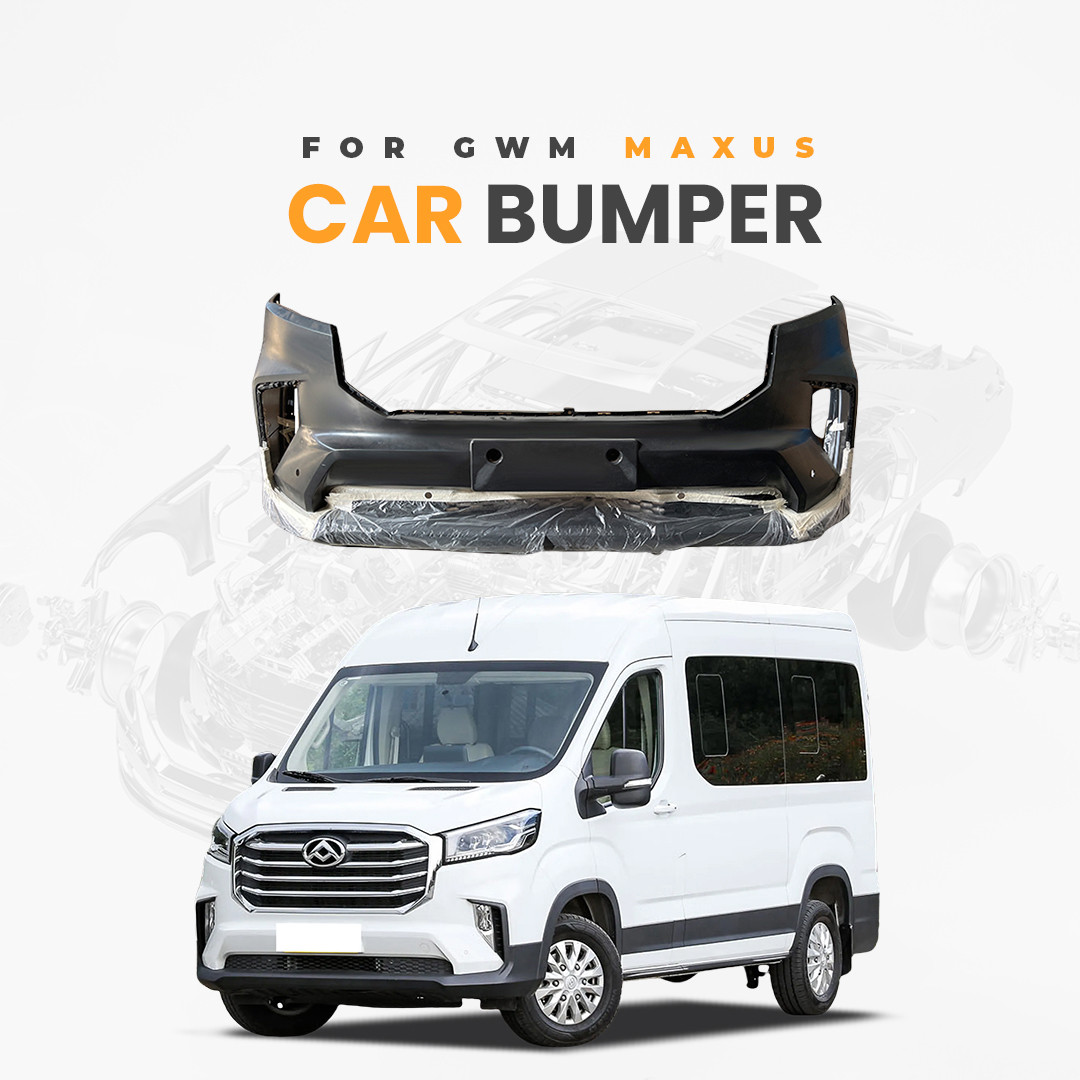
The front bumper assembly on MAXUS vehicles typically carries more integrated components than the rear: front radar sensor housings for ADAS-equipped vehicles, active grille shutter mountings on certain models, and fog lamp or DRL integrations are common. The rear bumper on MAXUS vans and SUVs tends to be simpler structurally but often includes tow hitch mountings and rear parking sensor locations. When quoting a car bumper replacement job, always verify which specific components are attached to the bumper being replaced and include those in the parts order and the labour estimate.
OE-Specification vs Aftermarket: Making the Right Sourcing Decision
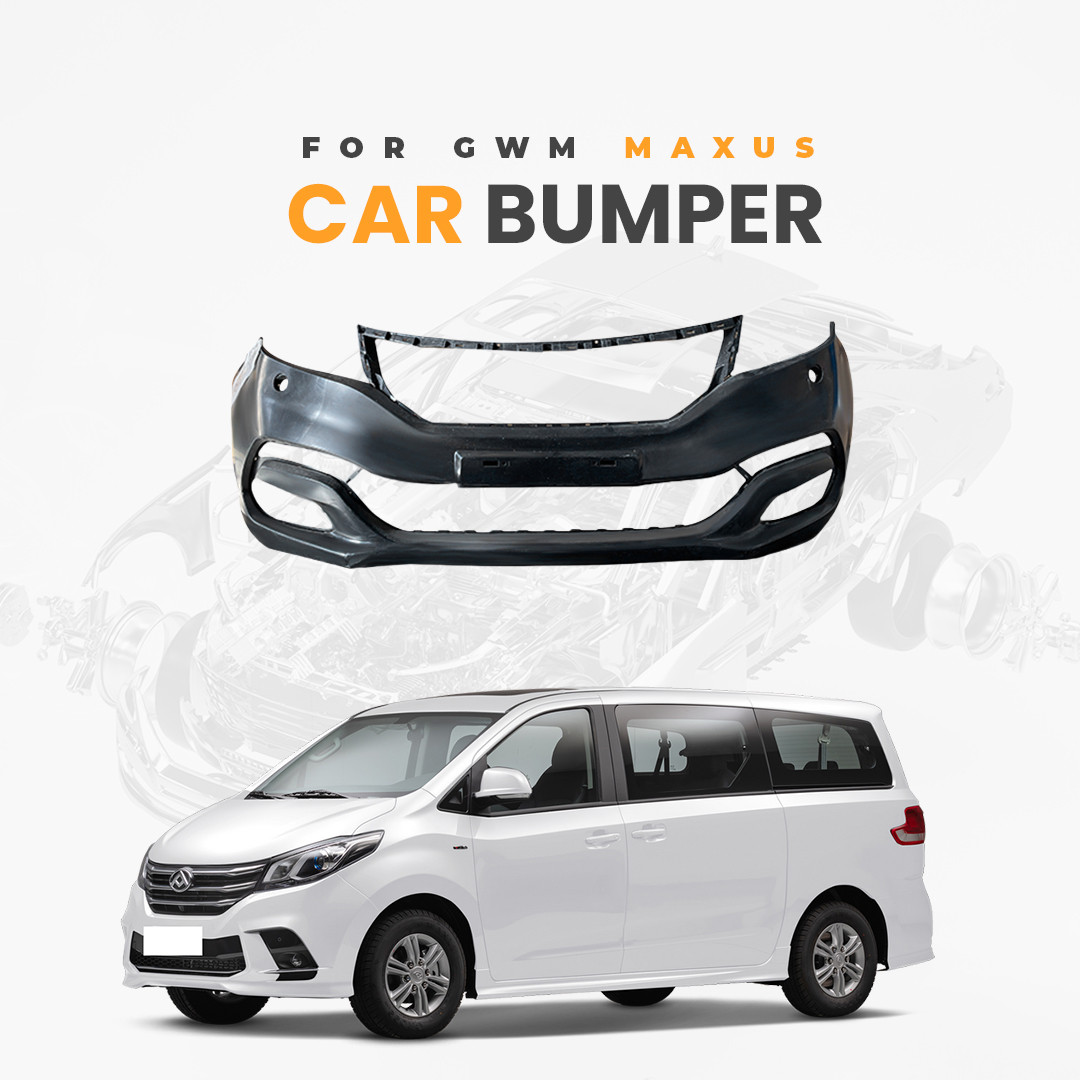
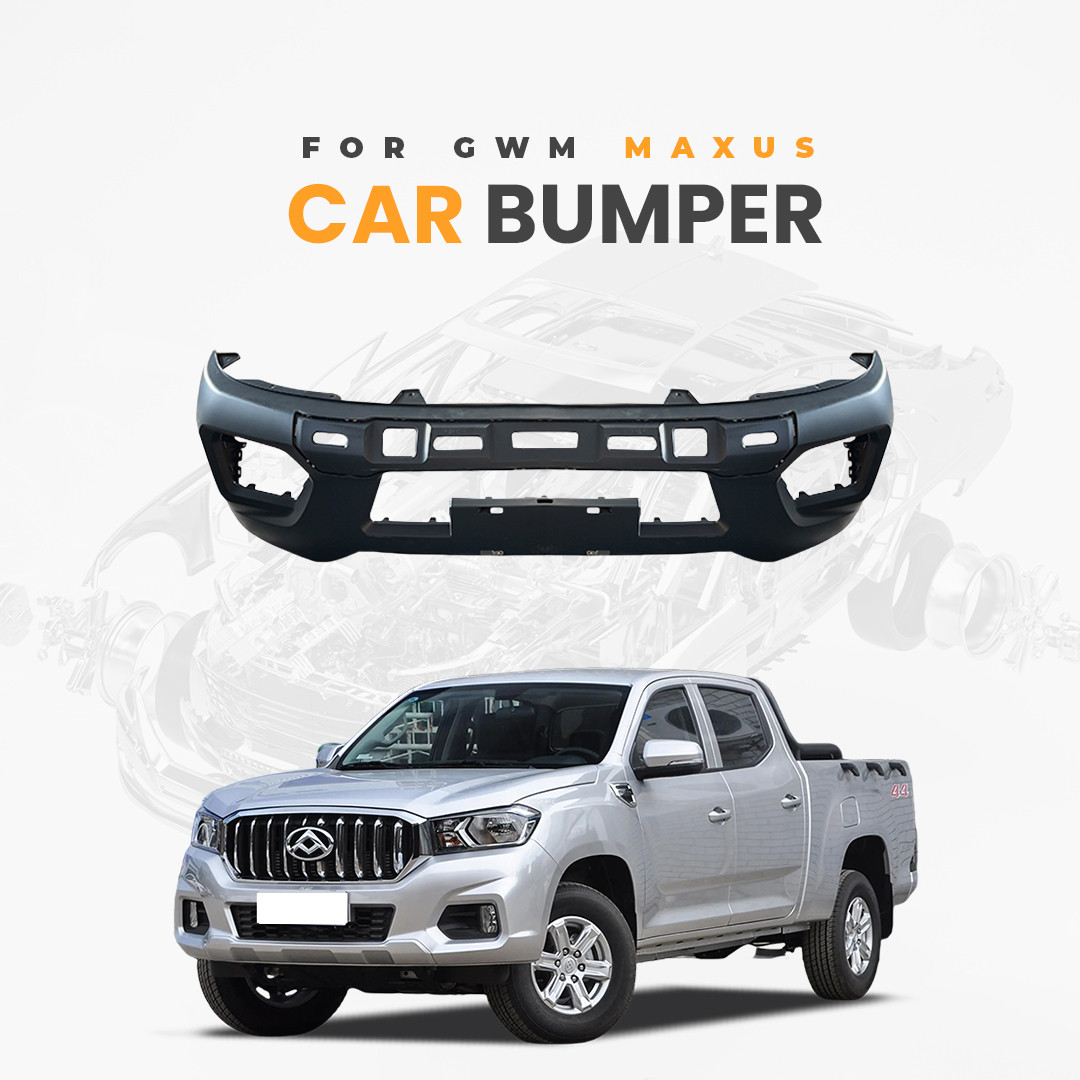
For MAXUS bumper replacement, the choice between OE-specification and aftermarket parts has direct consequences for workshop reputation and customer satisfaction. OE-specification car bumper covers from certified suppliers match the original material composition, colour-match capability, and sensor-mounting geometry of the parts they replace. Aftermarket parts that deviate from those specifications can create fitting gaps, paint adhesion problems, and sensor misalignment — costs that are not always visible at point of purchase but surface as warranty comebacks within weeks of delivery.
The Fitting Process: MAXUS Bumper Replacement in 8 Steps
A professional MAXUS bumper fitting procedure: first, document the existing damage with photographs and check all functions (sensors, fog lamps, parking cameras) before starting; second, support the vehicle securely on a level surface and remove the lower engine undershield if fitted; third, remove the front or rear trim panels and wheel arch liners as required to access the bumper mounting points; fourth, disconnect all electrical connectors for sensors, fog lamps, and parking aids before releasing clips; fifth, remove the mounting screws and clip fasteners securing the bumper cover to the carrier beam; sixth, transfer any reusable components — sensor brackets, fog lamp housings, grille valence panels — to the new car bumper cover; seventh, fit the new MAXUS bumper cover, reconnect all electrical connections, and torque all fasteners to specification; eighth, perform a full post-fit functional check including ADAS calibration if required.
ADAS Sensor Considerations on Bumper Replacement
Modern MAXUS vehicles equipped with advanced driver assistance systems require ADAS recalibration after any front bumper removal and replacement. The forward-facing radar and camera systems integrated into the car bumper assembly lose their calibration reference when the mounting surface is disturbed. Workshops that invest in ADAS calibration equipment and training can capture this additional revenue line at every MAXUS bumper replacement, transforming a single bumper job into a higher-value combined repair and calibration event.
Stock Planning for MAXUS Bumper Inventory
For distributors and workshops building MAXUS bumper inventory, the V80 and V90 front and rear bumper covers for the most common model years are the highest-velocity SKUs. Rather than stocking the full range of every model year variant, focus initial inventory on the current-generation models and the immediately preceding generation, which represent the bulk of active service vehicles in most markets. A focused starter inventory of six to eight bumper SKUs covering the most common front and rear applications for V80, V90, and G10 models will capture the majority of walk-in and fleet car bumper replacement demand in any given territory.
Common Fitting Errors and How to Avoid Them
The most common fitting errors in MAXUS bumper replacement: incorrect part number identification leading to a bumper that does not match the sensor or lamp mounting provisions of the specific model year; under-torquing of the hidden clip fasteners that secure the bumper to the carrier beam, creating rattle complaints within weeks; failing to transfer the protective film or masking materials from the old bumper to the new one before painting, resulting in paint damage during the painting process; and failing to perform a post-fit electrical check on all sensor and lighting functions before returning the vehicle to the customer.
Why OOZOM is the Right Partner for MAXUS Bumper Supply
OOZOM supplies OE-specification MAXUS bumper covers and car bumper components for the full MAXUS model range, with minimum order quantities from one unit and consolidated international shipping from a 50,000-square-metre logistics hub. Every part is verified against the original manufacturer's specifications, with material certification and dimensional check reports available on request. For workshops and distributors building a recurring MAXUS bumper supply relationship, OOZOM provides the catalogue depth, the quality assurance, and the logistics reliability that independent workshops need to compete against dealership parts counters on price and availability while matching their technical standards.